Cloud-Based Simulation & Automated Algorithm Verification
Background
In robotics R&D, the endless cycle of testing and validating algorithms and software is often the most time‑consuming and error‑prone part of daily work.
Sound familiar?
- You tweak one line of code and end up testing all day
- Your local simulation stack suddenly breaks—re‑installing is a minefield
- Multiple teammates run their own tests … and the results never match
For teams working on mobile robots and embodied intelligence, the pain is even sharper:
- Rapid software iterations demand continuous validation
- Simulation stacks are complex and costly to maintain
- No unified test standards, so results are hard to quantify
- Limited local compute; long queues for every test run
At coScene we kept asking ourselves:
What if you could validate every algorithm change on demand—zero setup, fully reproducible, and with standardized outputs?
Leveraging our deep experience in data loops and productivity tooling, we built a one‑stop cloud simulation platform grounded in the SceneOps philosophy:
Just five quick steps to set things up.
Upload your program and the platform auto‑runs the tests, captures data, and generates visual reports—fully online, zero local dependencies!

This guide walks through Ubuntu 22.04 + ROS 2 Humble + Gazebo as an example.
For other simulators, see the official site: coScene Platform.
🧱 Step 1: Build Your Own Test Runtime
Every team’s tech stack is unique, so coScene lets you create a custom container image with all your dependencies and push it to the platform.
A minimal Dockerfile template:
# syntax=docker/dockerfile:1.2
ARG BASE_IMAGE=osrf/ros:humble-desktop-full
FROM ${BASE_IMAGE} as base
...
WORKDIR /action/ros2_ws
Open‑source sample 👉 Regression_Test-Sample
After building, push the image to your organization’s private registry so everyone can reuse the same, stable test environment.
-
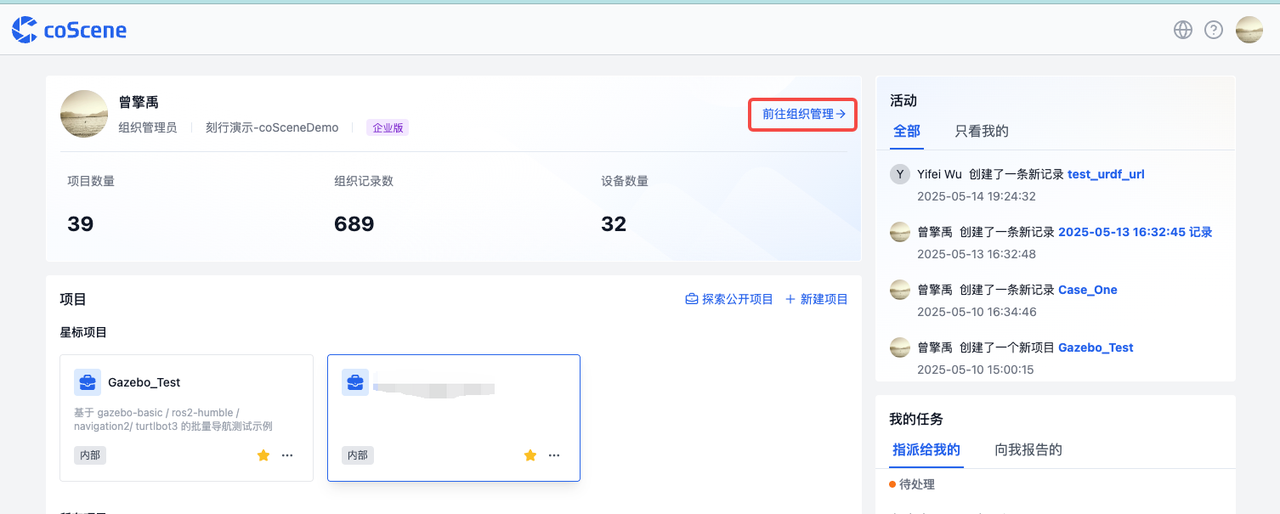
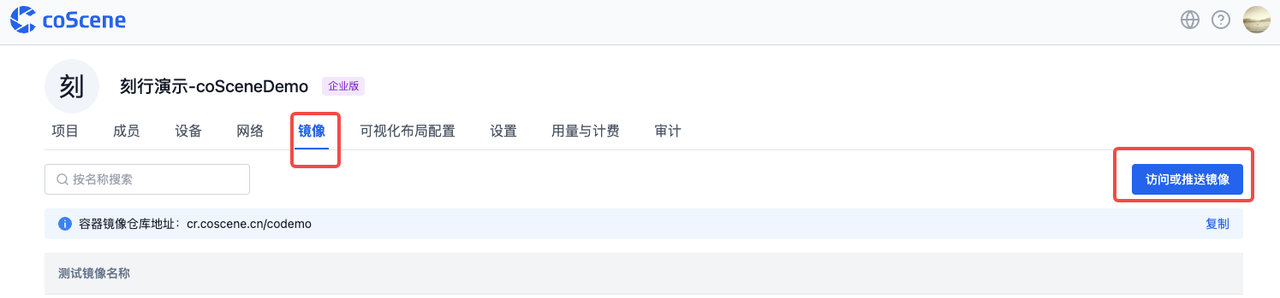
Sign in to coScene, open Organization → Image Registry to get your push URL
-
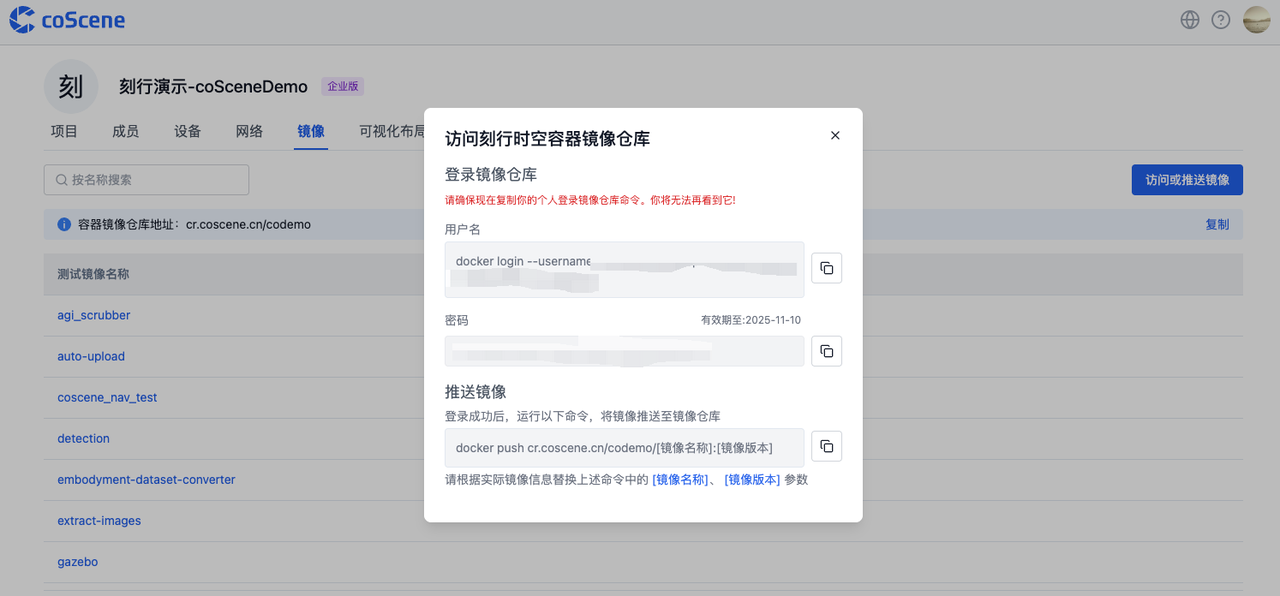
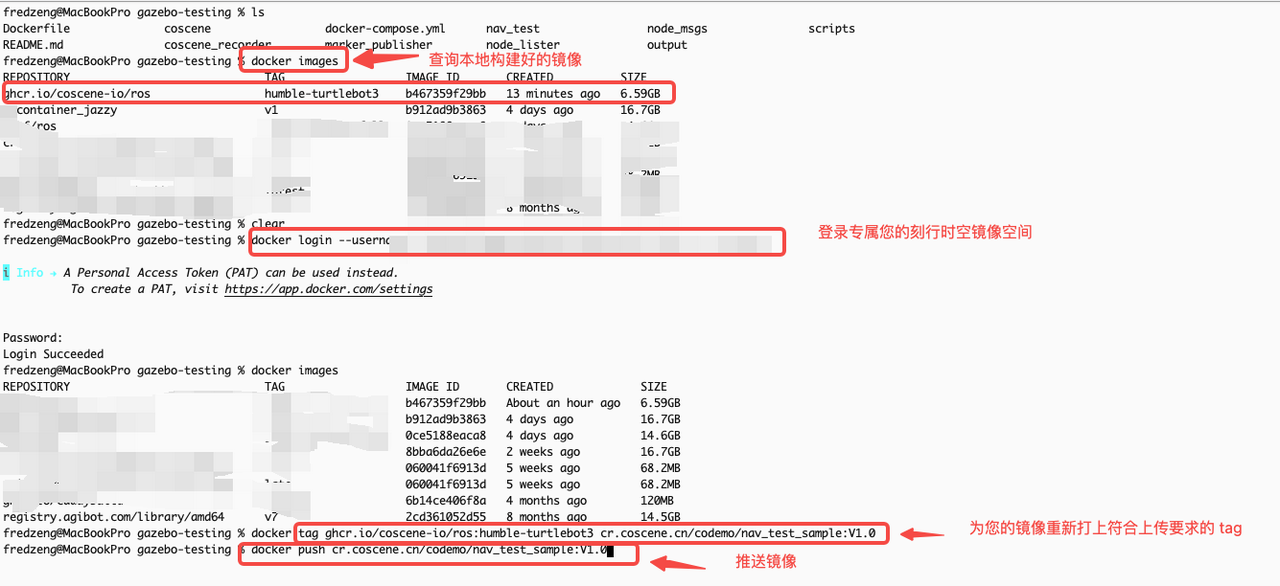
Log in to Docker and push the image
-
Verify the image inside the platform and copy its link
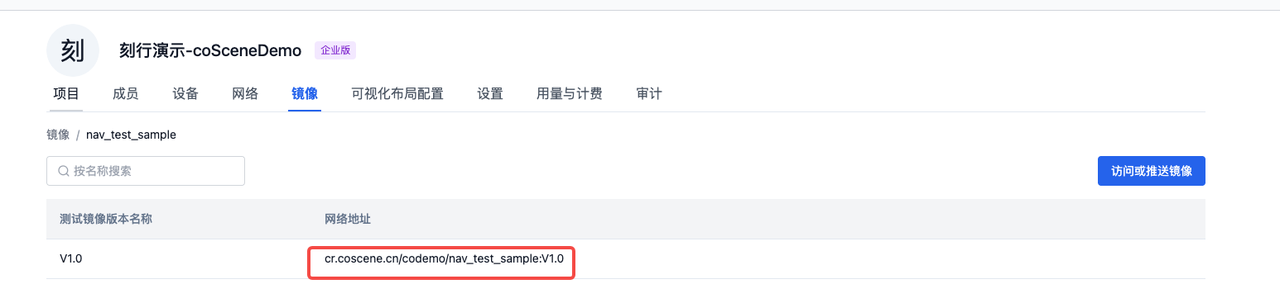
You now have a shared “runtime base” for all future simulation tests, with every dependency baked in.
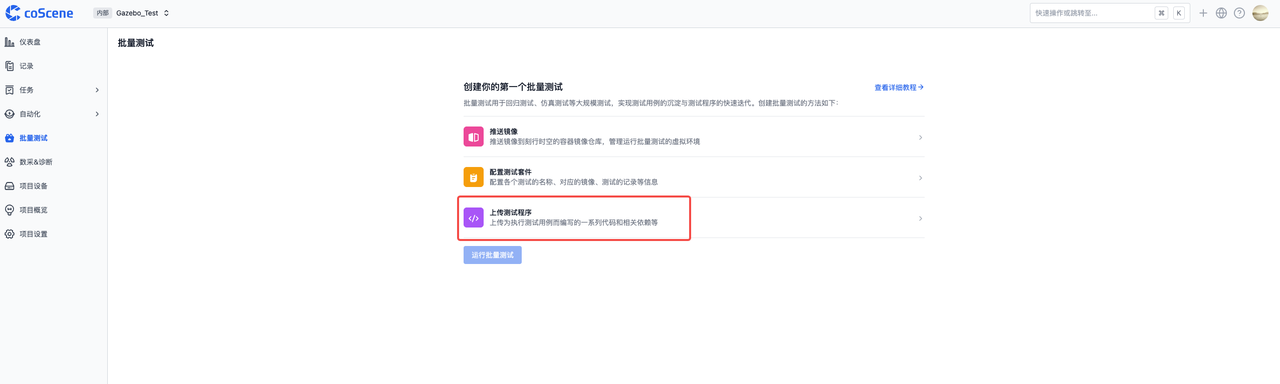
📦 Step 2: Upload Your Algorithm & Test Program
After modifying your code, build and package it:
tar -czvf install.tar.gz ./install # recommended: package the install/ folder
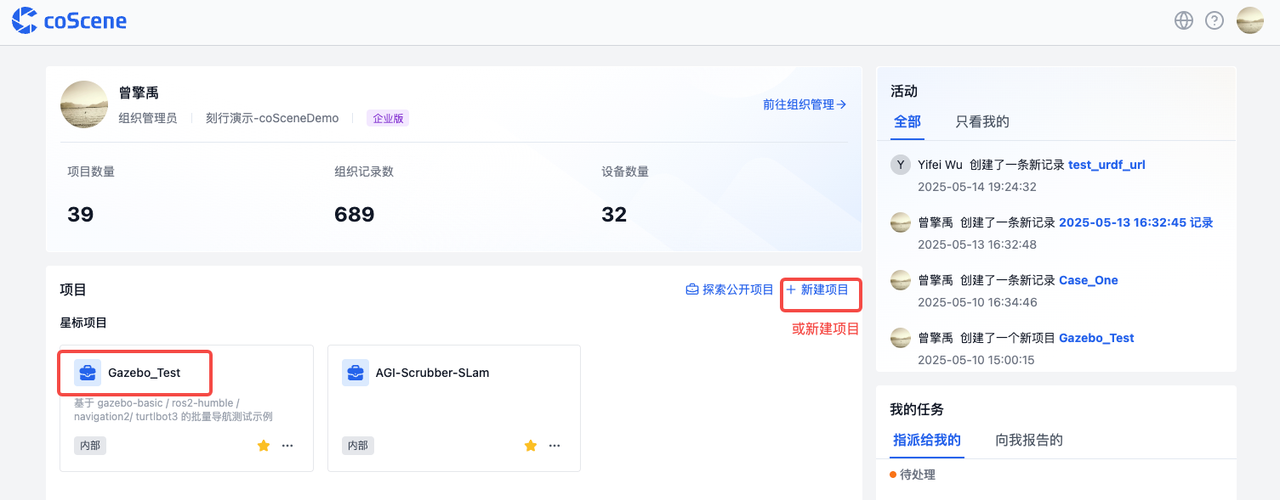
In your coScene project, click Upload Program.
The platform auto‑extracts the archive and places it in the test container.
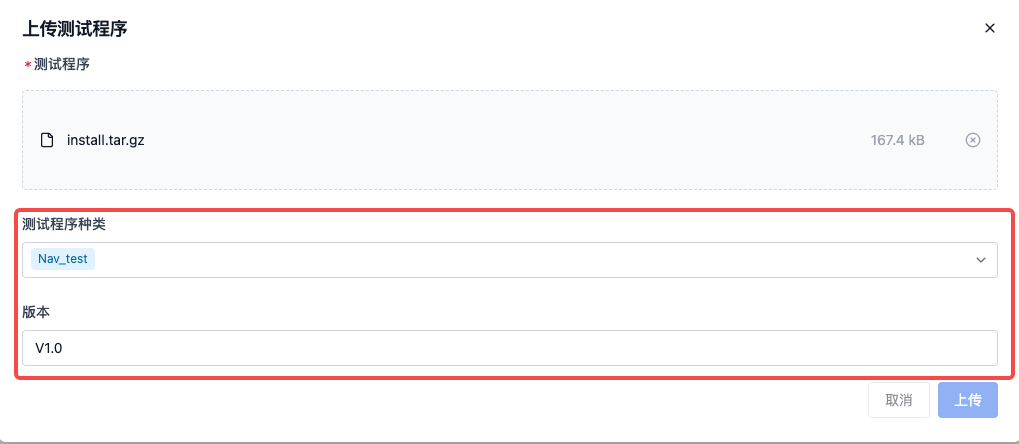
Supported uploads:
- Compiled executables or raw source to be built in‑container
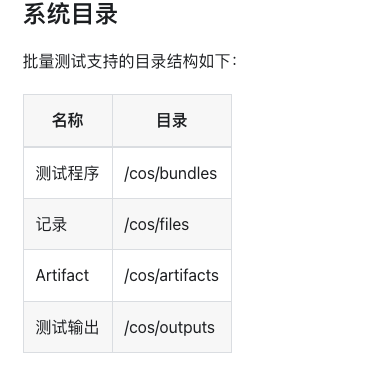
Refer to the Test Bundle Management Docs for more info.
Enterprise Edition: integrate GitHub/GitLab CI to push artifacts automatically—no manual upload required.
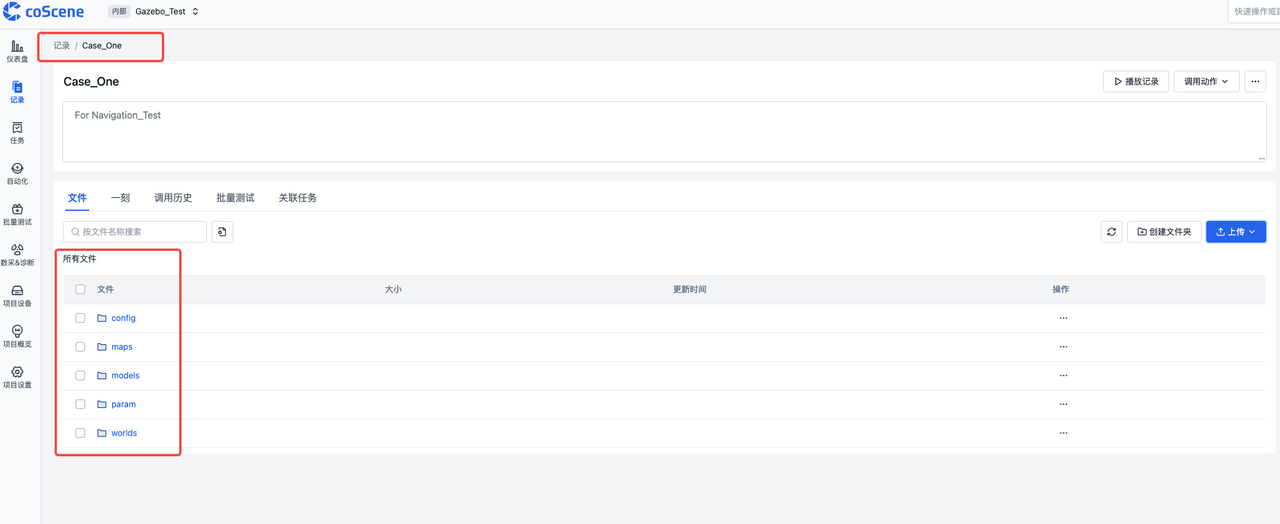
🧪 Step 3: Prepare Test Cases
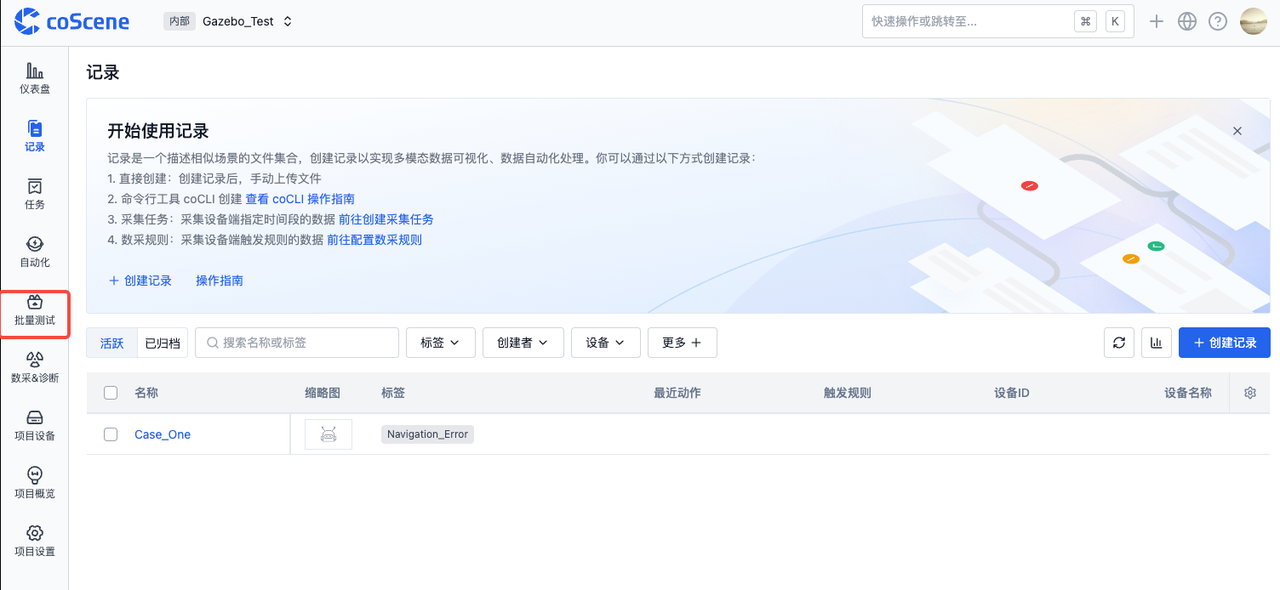
Within Organization → Project → Records you can define multiple test cases.
Each record is a virtual “test scene” containing:
- Map:
map.pgm+map.yaml - Robot model (e.g.,
turtlebot3_waffle_pi) - Config (e.g.,
case.yaml) - Gazebo world
- Any extra resources
Example layout:
test_case/
├── map.pgm
├── map.yaml
├── case.yaml
├── world.world
└── extra_configs/
Tagging
Add labels (e.g., Navigation_Error) for easy filtering:
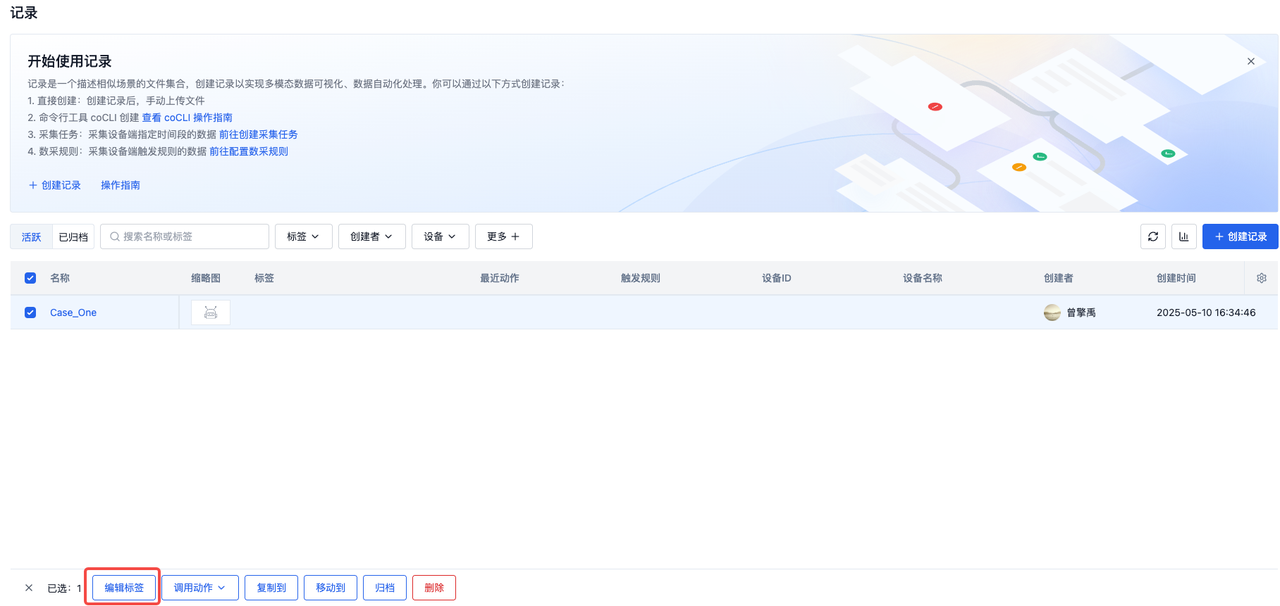
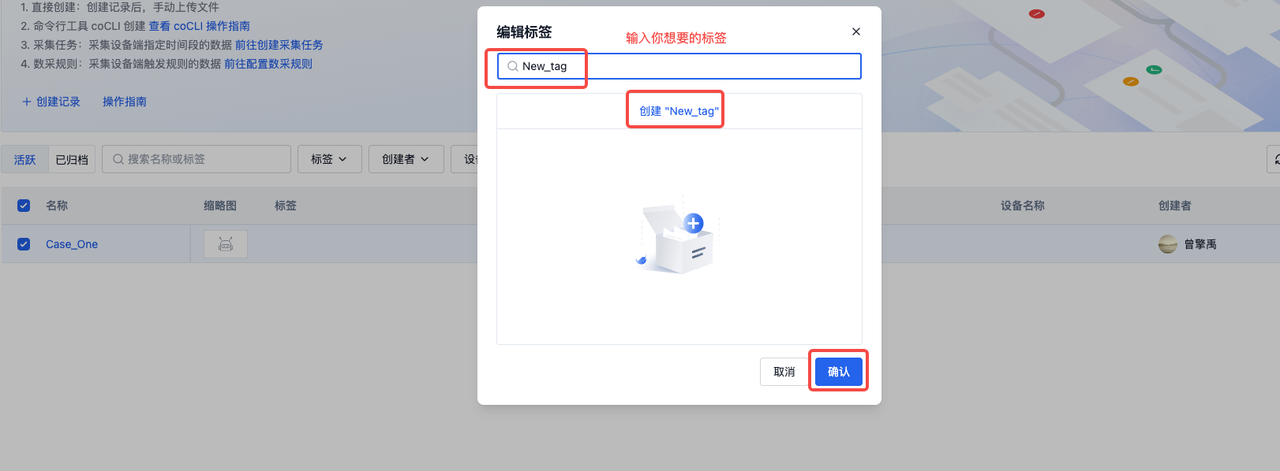


You can now select cases by tag in the next step.
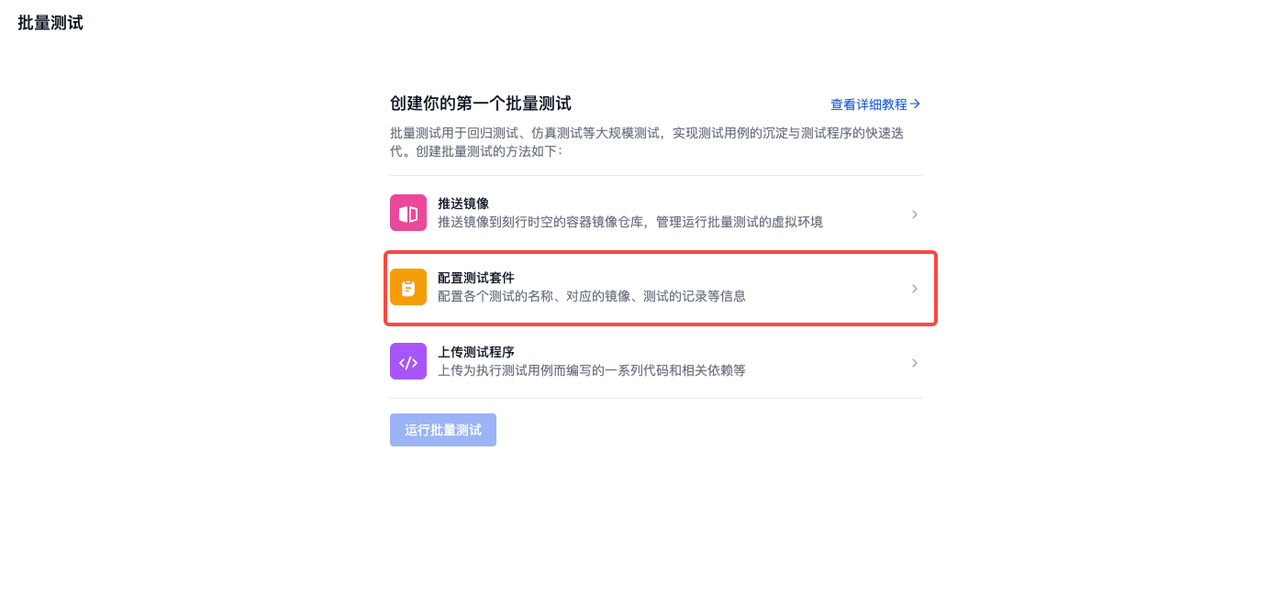
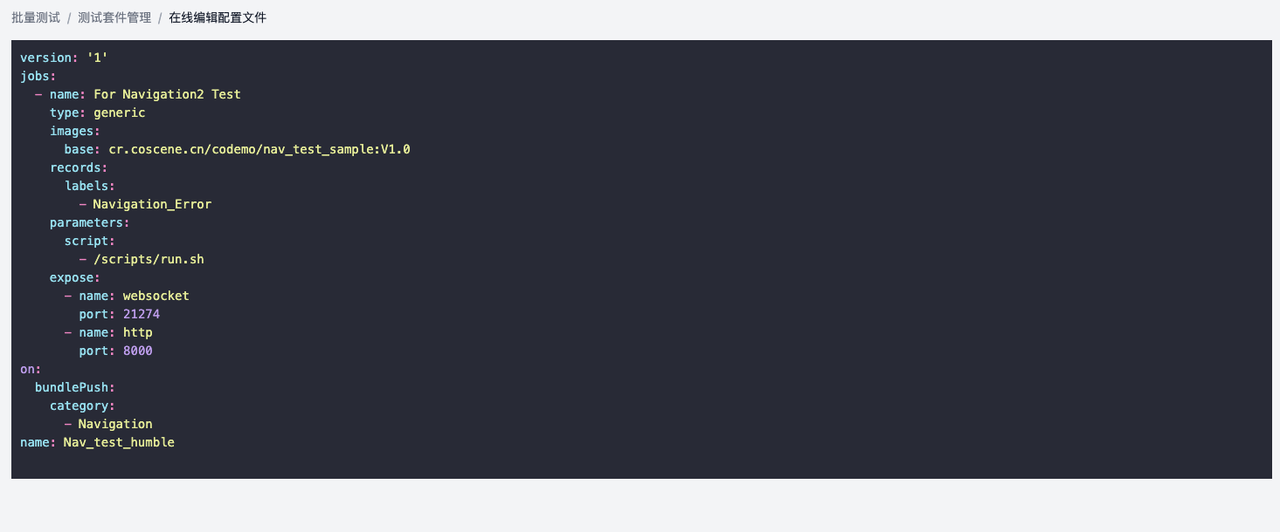
⚙️ Step 4: Configure Test Triggers
Each project supports flexible trigger rules:
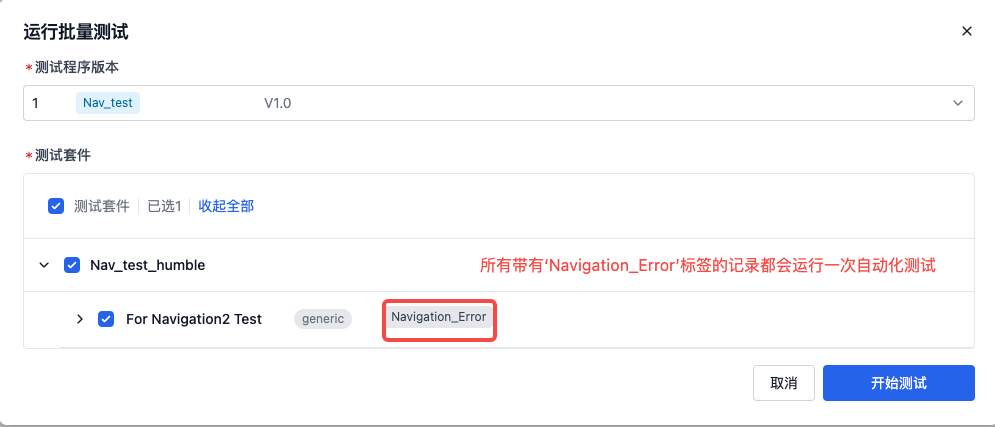
- Auto‑run tests on every program upload
- Manually select specific records
- Filter by tag or version
Refer to the Regression Config Management for more info.

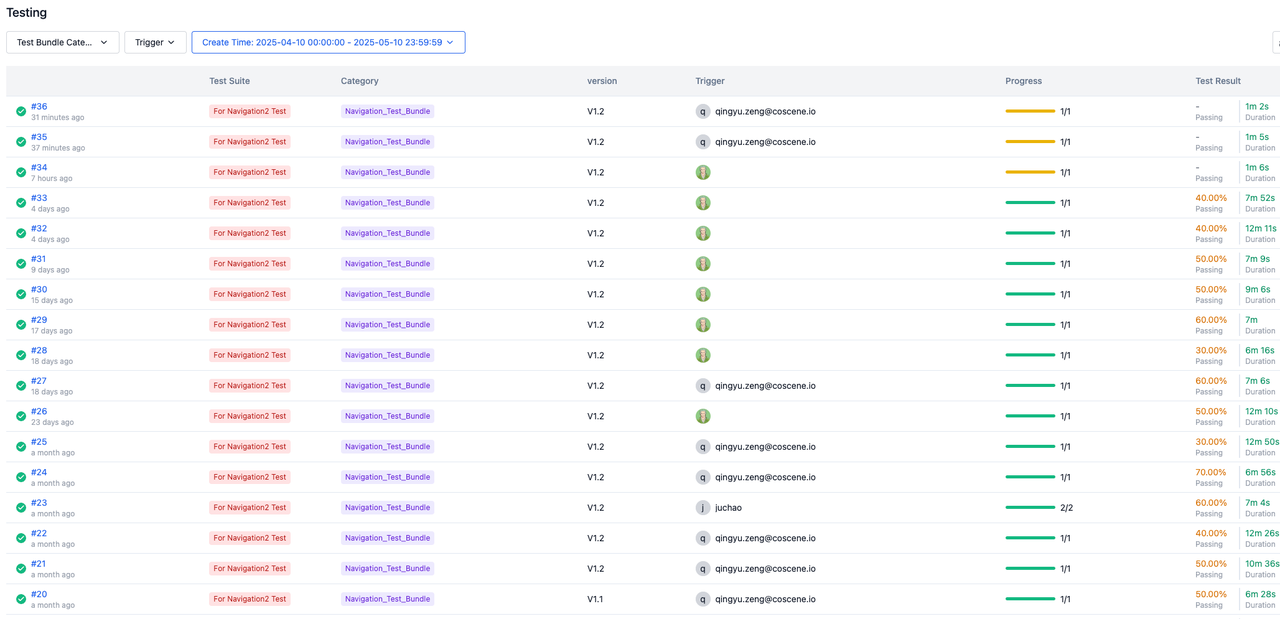
📊 Step 5: Run & Monitor Tests
During execution you get:
- Live visualization of robot state (Gazebo viewer supported)
- Automatic data recording
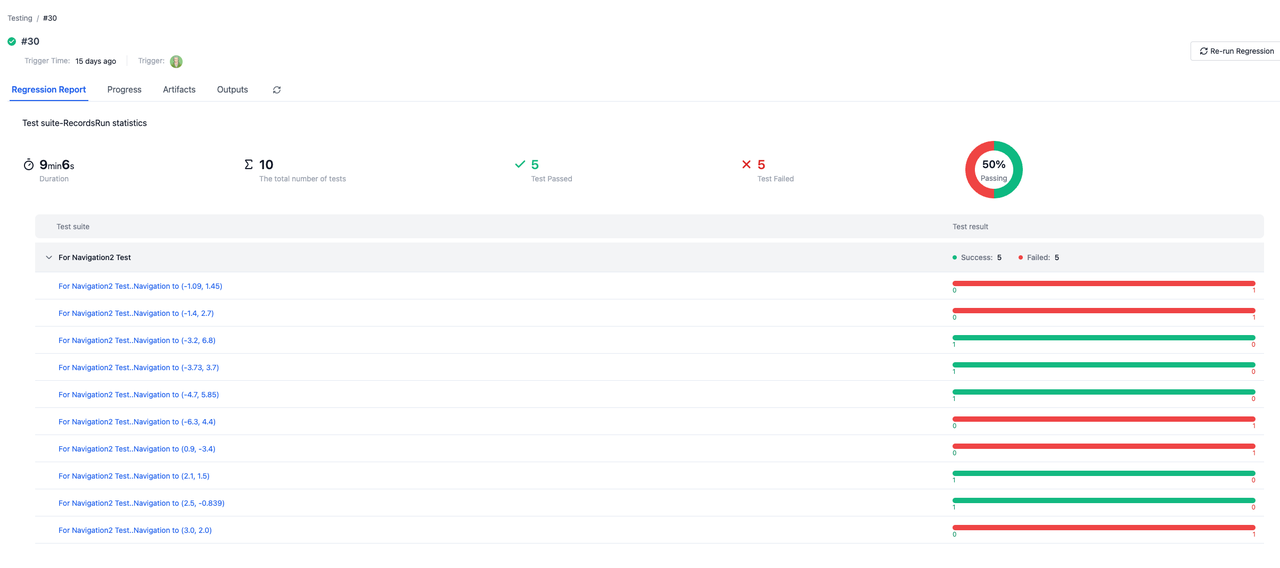
- Standardized test reports

Report includes:
- 📍 Trajectory plots
- ✅ Pass / fail metrics
- 🪵 Logs & exceptions
- 🖼️ Charts & statistics
🚀 Wrap‑Up: Offload the Grind, Focus on Innovation
After every code change, you no longer need to:
- Rebuild environments
- Re‑run scripts by hand
- Manually diff logs
Just one upload, and coScene handles the rest—standardized, automated, and always reproducible—so you can spend more time on what truly matters.
👉 Sign up and try it out